Step-by-Step Making a Digital Mockup
Do you ever feeling like making a digital mockup is overwhelming? Like your in the kitchen and someone has handed you an ingredient and a picture of the finished food and asked you to make dinner? In this post, I hope to be able to provide a basic recipe for making a digital mockup. The whole point of using a digital mockup is to simplify life – so let’s jump in!
Step 1: Choose a Mockup
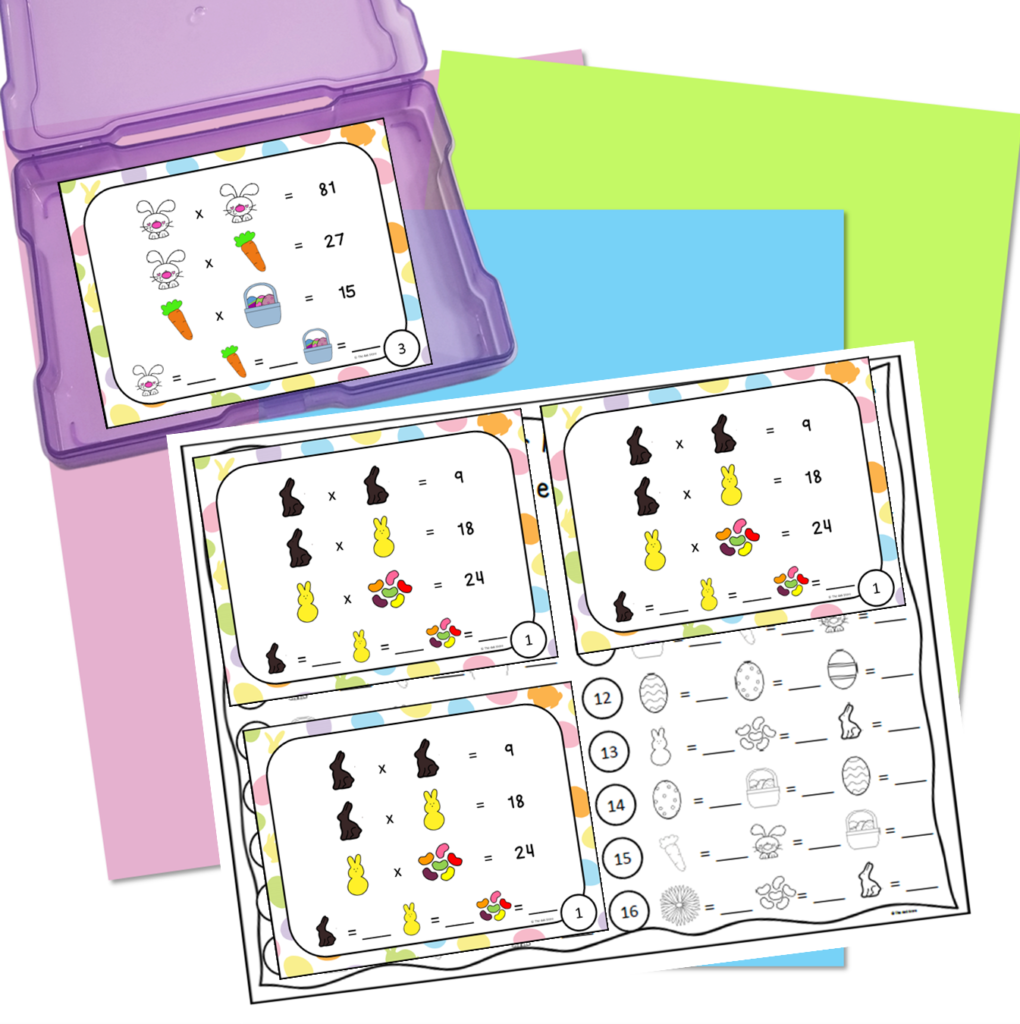
When selecting a pre-designed mockup base, choose one that makes sense for your product. While writing this post, I was working on updating my Easter logic puzzle task cards. So, I went and found my Spring task card mockups! My brain finds it easier to start with a basic base mockup and then I add to it from there! If you want to work with a free one, I have several in my shop along with some free movable pieces!
Step 2: Collect Images to Insert
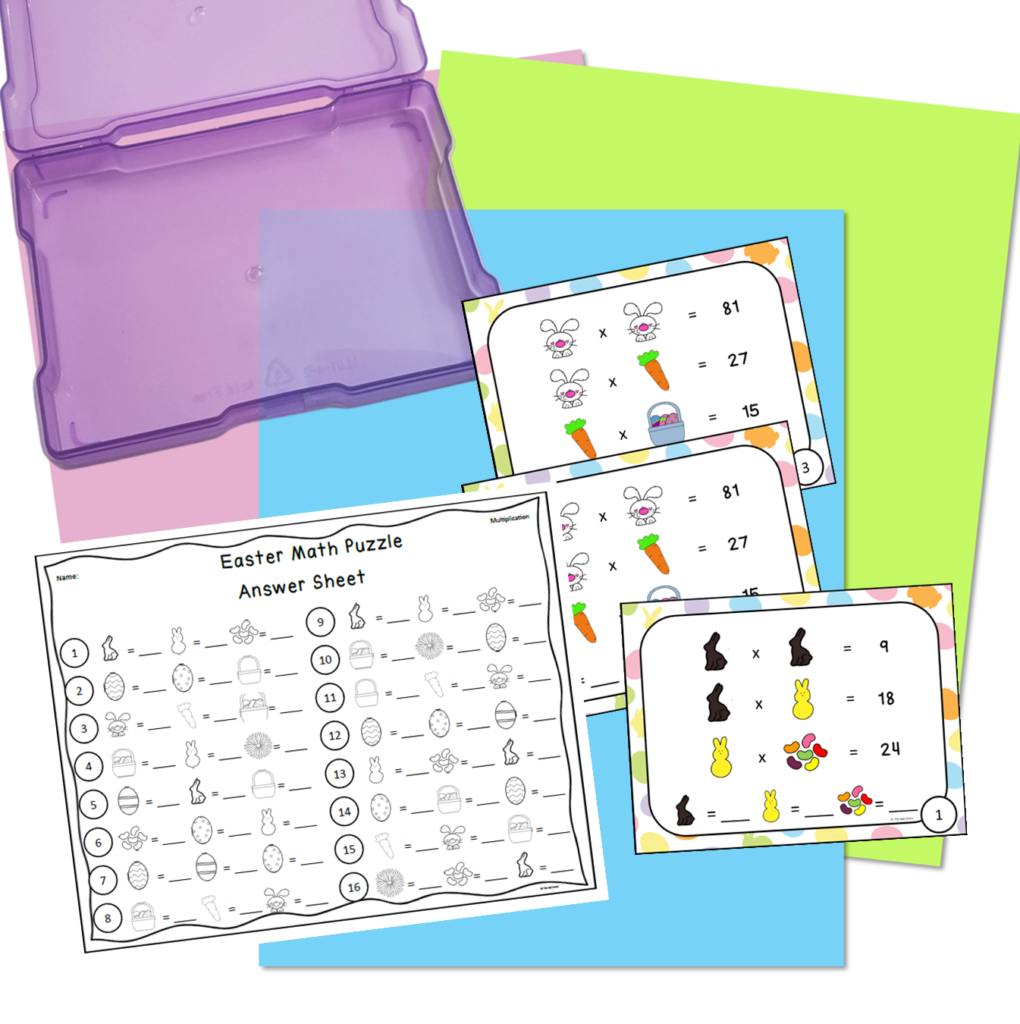
There are a few ways to get images for your mockups from your product. One is to select all of the elements in your product and save as a picture. (Keep in mind that some of your items may be transparent using this method – like if you have a worksheet.) This is how my task card images were saved.
One I utilize frequently for worksheets is the Snipping Tool. This is how my answer sheet for this project was captured. You can also use tools like Acrobat to save your PDF as images, though that may depend on your version of Acrobat.
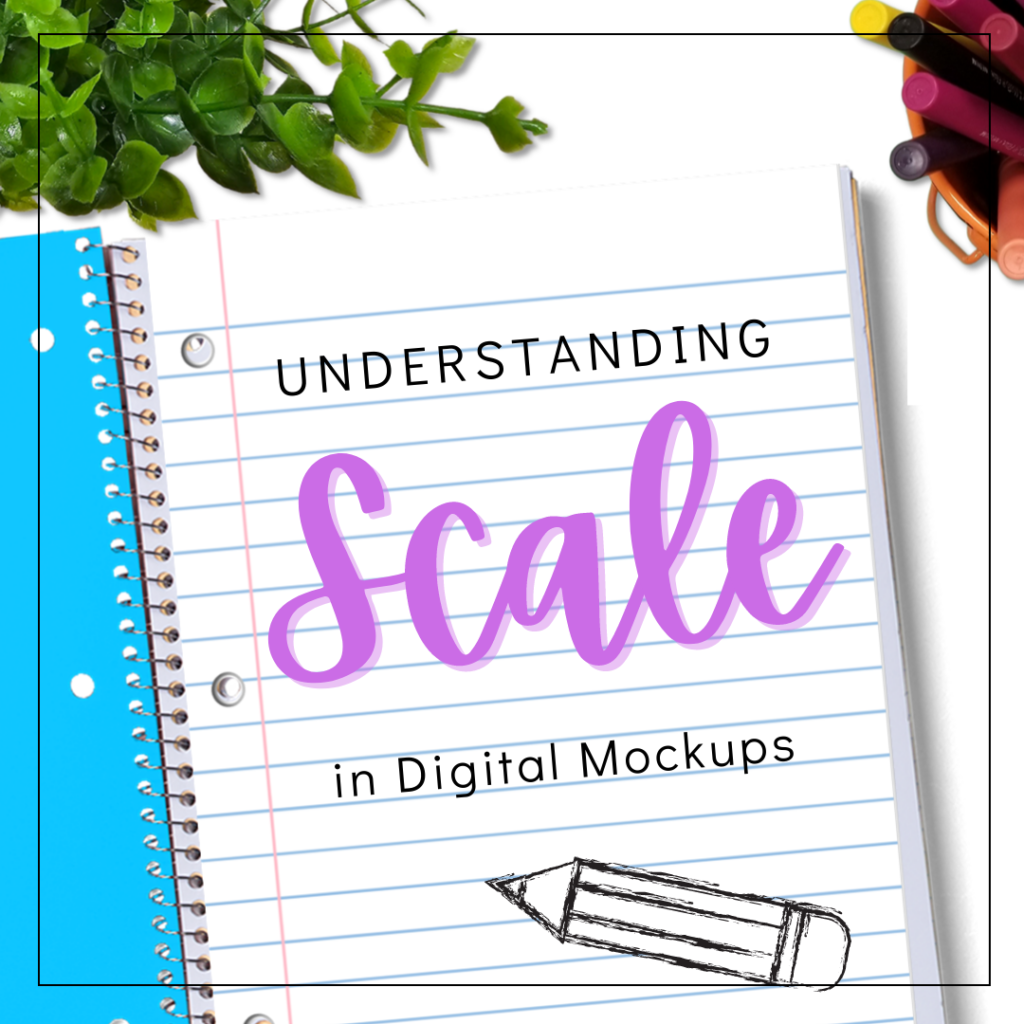
Step 3: Resize and Shadow
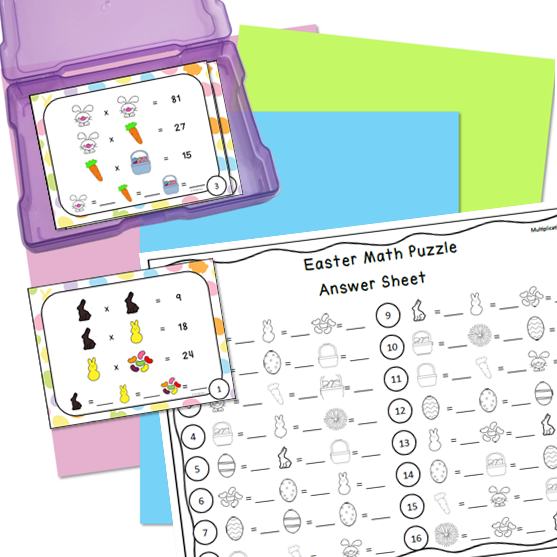
I use other elements in my mockup to help determine my scale. I have two sized papers in this file: task card and full page. First, I place a task card inside the task card box. This is my base for my scale. Then, I size a second task card to match. I then know that 4 of my task cards fit onto a full page of paper, so I scale my answer sheets accordingly.
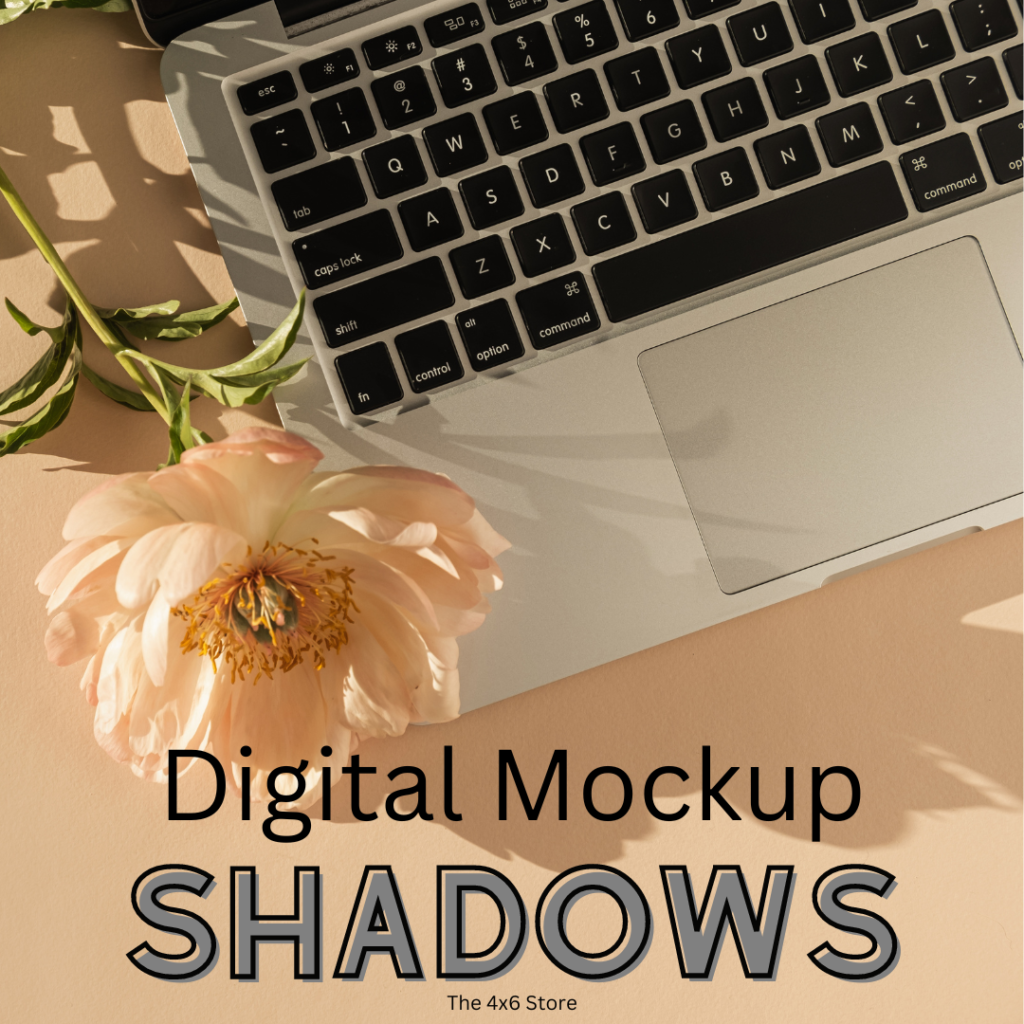
Adding shadow is different between programs. In Microsoft products, under the Picture Format menu, select Picture Effects > Shadow. The use of shadows gives it a more realistic touch.

Then, position your objects where you would like them to go! (For these mockups, I enlarge the answer sheet. It is still in the realm of reality, but I think it is more visually appealing to be a little larger!)
Step 4: Insert Movable Pieces
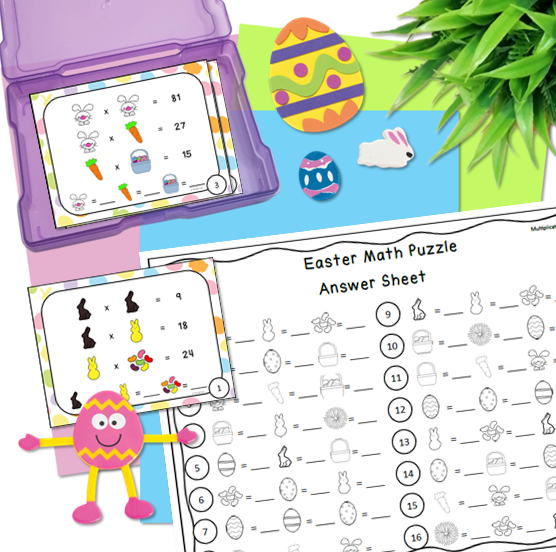
Movable pieces or images can bring a variety to your mockups. They are perfect for holidays! I like adding plants! They are a simple way to spruce up any mockup! When adding images to your mockups, make sure they are sized pleasingly! Also, don’t forget the shadow! Inserting additional images to mockups should not distract from your product.
From here, you can begin using your mockup! Or, you can continue by adding text and logos!
Step 5: Add Text and/or Logo
Everyone has their own style for adding in titles. When I was deciding how to do redo my titles, I spent a good hour just browsing TPT… looking at random products to see what types of covers jumped out at me. I liked the look of using an arrow on the top for the main product line title and a solid banner or arrow on the bottom with the products subtitle. So I just paste this template on top of my mockup!
When choosing your font for your covers, remember to keep the font size both easily readable and large enough to be read on mobile devices.
Step 6: Use Across Platforms
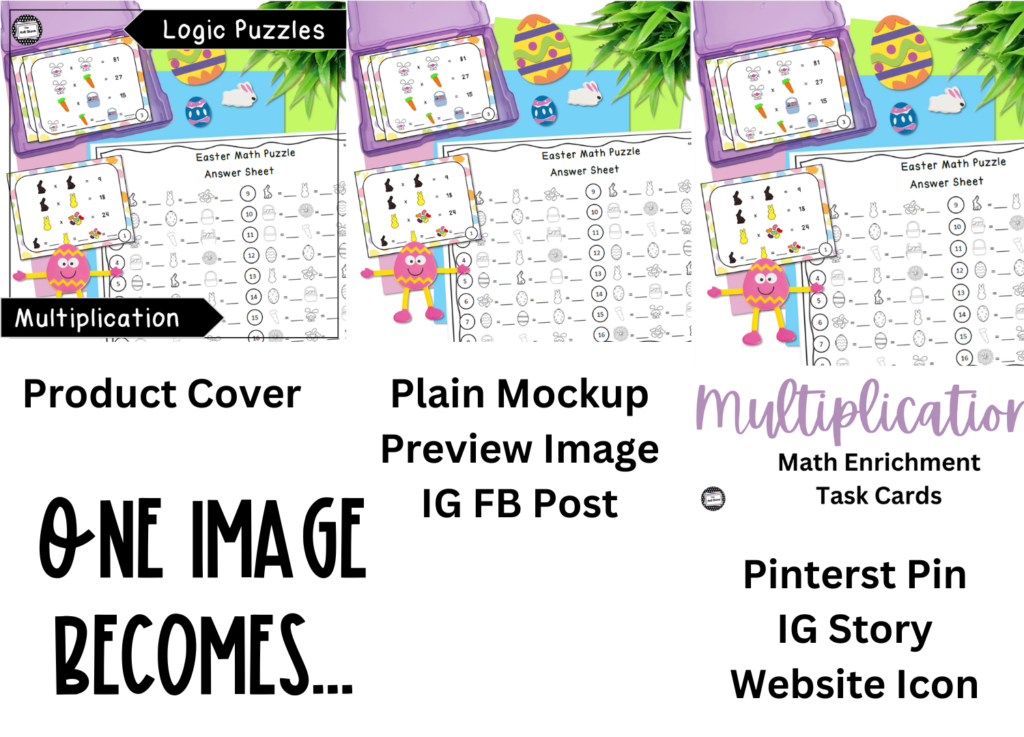
Once you have your base mockup made, you can use it for many things! I also like that I can take that template and quickly swap out my addition and mixed operation task cards to create those mockups, too. If I want to change the elements up, such as a different colored Easter egg or a different plant, its really fast to do. I don’t have to start over at square one!
Ta-da!
I hope you feel a little more comfortable making a digital mockup after reading this post. If you still have questions for me, stop by my Facebook group and I’d love to help you out!
You may also find these articles to be helpful: